

minimal mantel
Christmas is right around the corner and I’ve always wanted a mantel…..For whatever reason, I felt confident enough to finally take it on. And per usual…..the design evolved along the way.

This was my original idea. I got inspired by Young House Love but their fireplace was non functioning.


And THEN…..I had the idea to check the fire code regarding distances from mantles to fireboxes. So glad I did, because my plans didn’t meet the code. I needed to start over! Which meant I was going to need to repaint the dark trim I’d painted around the firebox as well.
And, since I’d already cut the plywood, that meant I was going to need to buy more materials (sapele plywood was $80). Because I’d already made a mistake, I was determined to use as much scrap for the frame as possible. So I decided to take apart what I’d already built to piece it together.


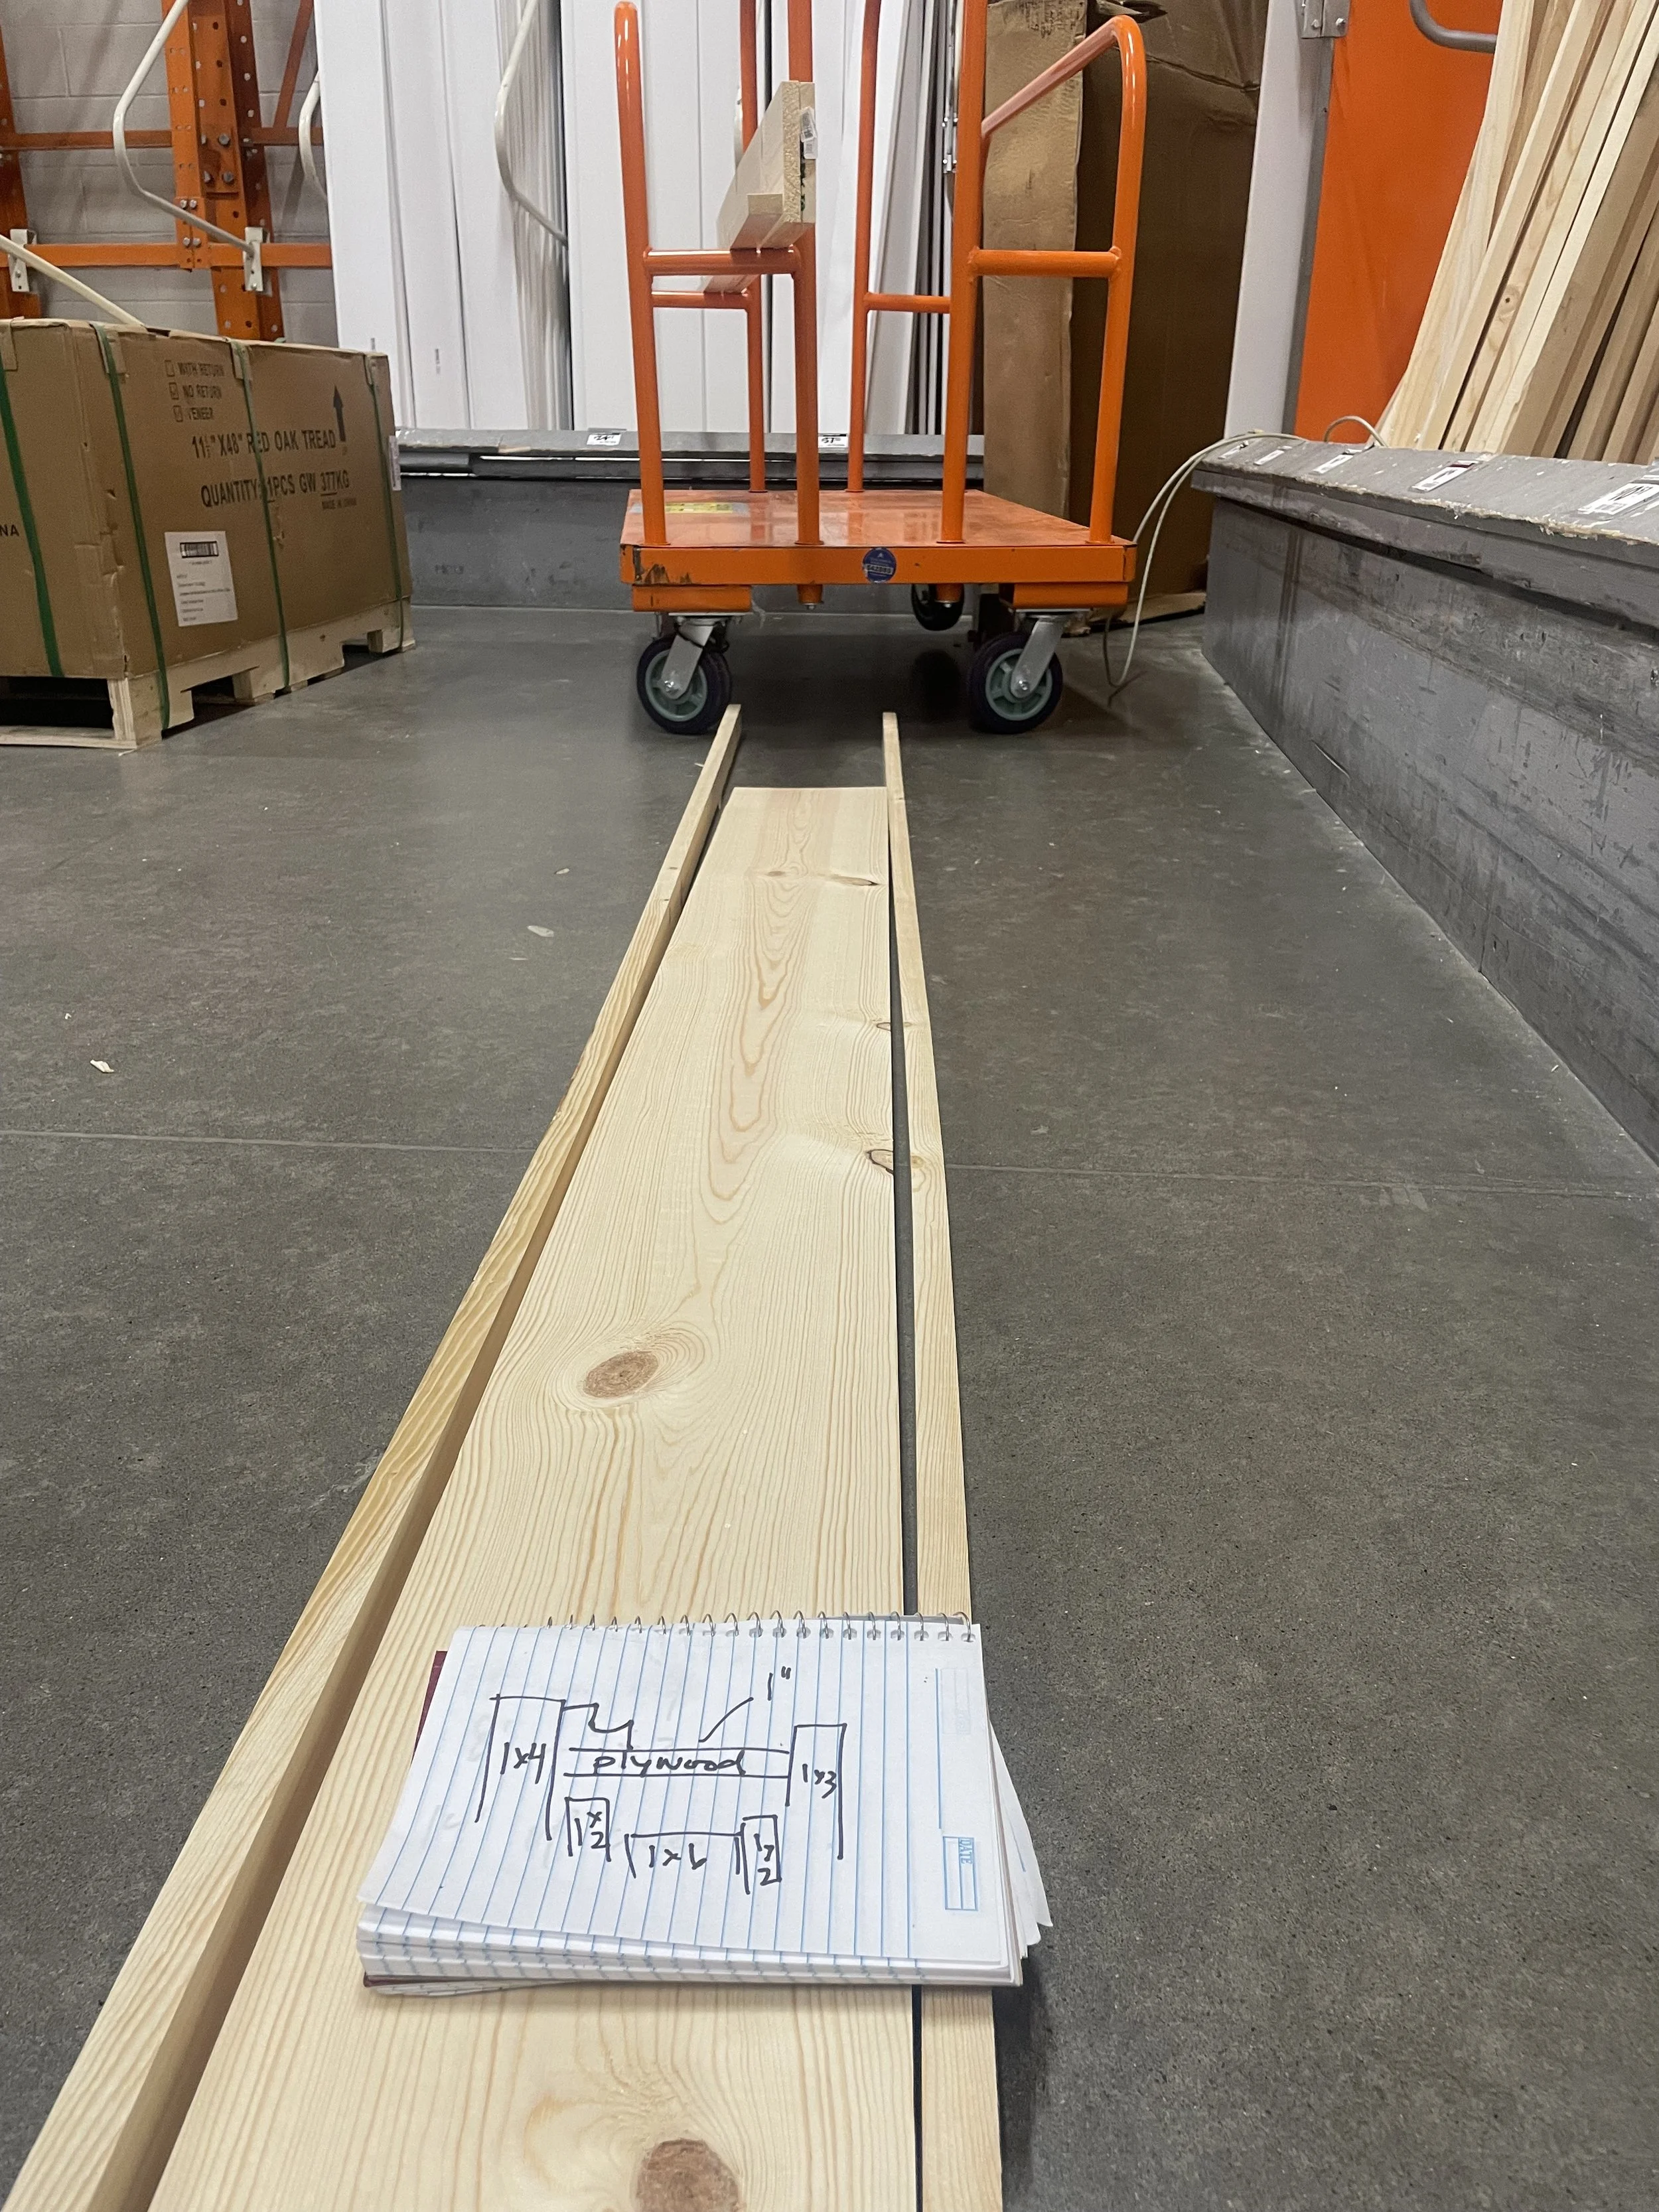
I cut down the pieces of plywood and used them for my frame instead of going back to buy more wood. I knew I’d need to buy more anyway, but I was hoping to keep the costs down as much as possible.

I changed my mind to do the finished part of the mantle in Sapele wood (1x3’s- on the inside& 1x4’s- on the face and outside , not plywood)- prounonced SAAAAPEEEEEELLLLEEEE, which looks like mahogany with a slightly more bearable price tag. I could have bought the plywood, but I wasn’t sure it be forgiving if I sanded it or needed to end up cutting it. You could also build this mantle it in primed pine or even MDF, and the cost could be under $250.


I built from the outside in and got the outside frame in perfectly. Then I made a mistake, as I started on the inside. I cut the side, and then the top, but my top was too small. I hadn’t accounted for the blade on the saw and thus I was a bit short. I didn’t have another piece of the 1x4 and it was $4.26 a LF. OUCH! This was an expensive lesson. I was nervous that even if I went and got the new piece I might make another mistake. So I decided to come up with a plan. And I figured out my best plan, which I might have helped from the start was making a template for whatever cuts I needed that I wasn’t willing to make a mistake on. And the template worked, one angle was 44 degrees and one was 45. Still level, but I wanted the corner cuts to fit together perfectly without filler. They did, and although I had an unreasonable amount of anxiety making these cuts, I’m so glad I figured it out! This is a DIY-WIN!!!!! I’m sure there’s another way to do it, if you know, please drop a line in the comments.


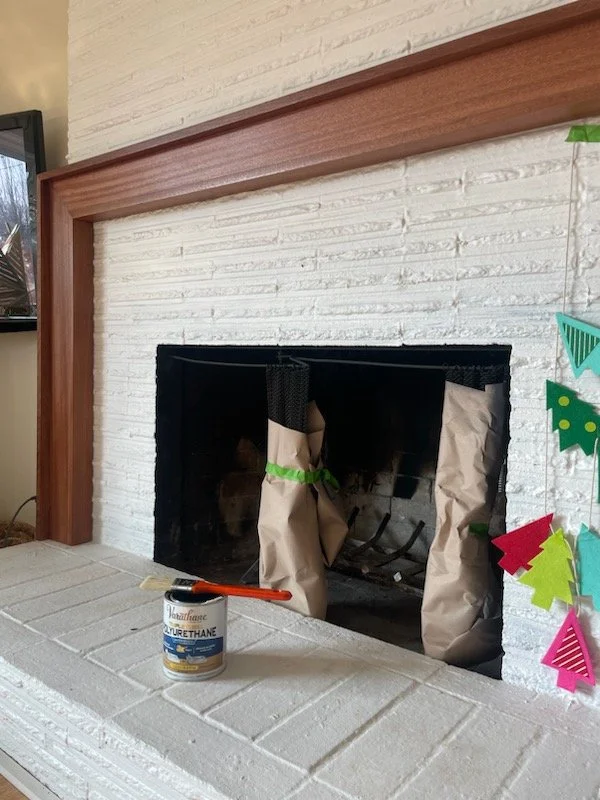
Once everything was installed, I gave it a quick sand. First 120, then 220, then 320. A quick coat of my favorite polyurethane, one more light sand with 320, and then a final clear coat.

I LOVE how this mantle turned out. I looked high I low for minimal mantle images on the internet and couldn’t find a thing. For whatever reason, a floating mantle just didn’t feel right to me. This mantle feels simple and clean with thoughtful detail. The “sapele” wood gives it a unique look that fits into my modern designed space with a nod to MCM detail.